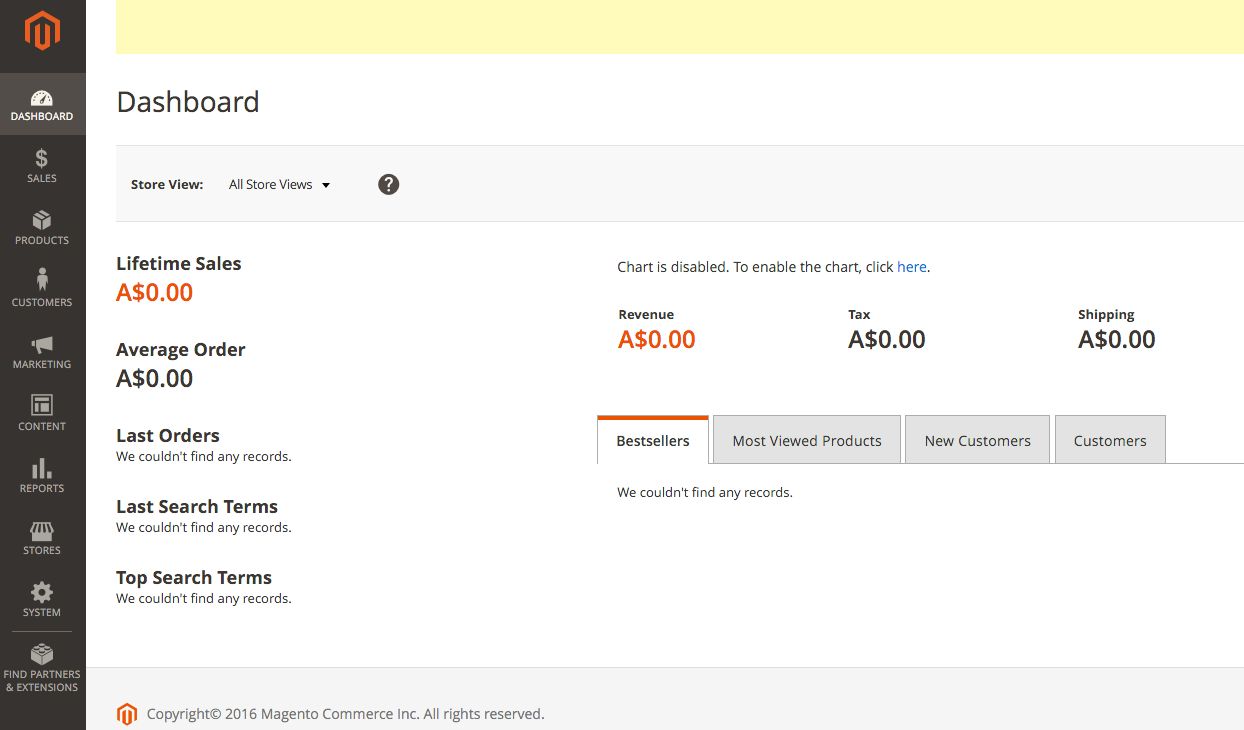
With nearly 30 percent market share, Magento is the most popular e-commerce platform in the world. Due to a number of features and complexity, it's also a very resource-intensive system to use compared to a lightweight alternative. This means that NGINX is an ideal pairing to ensure you have the highest performance possible.
The latest major version of Magento is 2.0, which was nearly a complete rewrite compared to the previous versions. There's still quite a bit of complexity involved too, so make sure that you're ready to take on Magento if you've chosen it for your e-commerce platform:

Getting ready
This guide assumes you're familiar with the installation of Magento 2.0 and have a working instance. Although there shouldn't be too many major changes, this recipe has been tested with version 2.0.2.
How to do it...
Thankfully, Magento provides a fairly functional NGINX sample configuration (located in the root of the Magento source folder) to get started with. I've located the files within the /var/www/html directory, which will be known as MAGE_ROOT.
Magento provides a basic configuration out of the box, which only requires a few small changes. However, I prefer to use my own configuration which I find easier to follow. Here's how I do it:
server {
    listen       80;
    server_name  magento.nginxcookbook.com;
    set $MAGE_ROOT /var/www/html;

    access_log  /var/log/nginx/magento.access.log  combined;
    index index.php;

    root   $MAGE_ROOT/pub/;

    location / {
        try_files $uri $uri/ /index.php?$args;
    }
    location ~ ^/(setup|update) {
        root $MAGE_ROOT;
        location ~ ^/(setup|update)/index.php {
            fastcgi_pass   unix:/var/run/php7.0-fpm.sock;
            fastcgi_index  index.php;
            fastcgi_param  SCRIPT_FILENAME
             $document_root$fastcgi_script_name;
            include        fastcgi_params;
        }

        location ~ ^/(setup|update)/(?!pub/). {
            deny all;
        }

        location ~ ^/(setup|update)/pub/ {
            add_header X-Frame-Options "SAMEORIGIN";
        }
    }

    location /static/ {
        expires max;

        if (!-f $request_filename) {
            rewrite ^/static/(version\d*/)?(.*)$
             /static.php?resource=$2 last;
        }
        add_header X-Frame-Options "SAMEORIGIN";
    }

    location /media/ {
        try_files $uri $uri/ /get.php?$args;

        location ~ ^/media/theme_customization/.*\.xml {
            deny all;
        }

        add_header X-Frame-Options "SAMEORIGIN";
    }

    location ~ \.php$ {
        fastcgi_pass unix:/var/run/php7.0-fpm.sock;
        fastcgi_index index.php;
        fastcgi_param SCRIPT_FILENAME
         $document_root$fastcgi_script_name;
        include fastcgi_params;
    }
}
As you can see, this is significantly more complex than a basic WordPress configuration. There are four main sections; the first is to handle the setup and updates, the second is to handle static media (for example, default Magento, CSS, and JavaScript), media files (for example, upload images), and finally how to process PHP files.
How it works...
We'll go through this one in sections. Magento is different from many flat file / single root directory structures, so it requires some slight changes compared to a basic PHP site.
set $MAGE_ROOT /var/www/html;
This sets a variable we can easily reference and it means there's only one place we need to update if we move the files:
root $MAGE_ROOT/pub/;
All of the main website files sit in the pub subdirectory. This is commonly overlooked when uploading the files to a shared hosting platform such as CPanel or Plesk. Ensure that the main root directive points to the pub folder, not just the directory of the Magento files. The root directive is therefore pointed at the pub folder with the preceding configuration line.
Conversely, the setup and update URLs need to have a separate root directive to ensure they also point to the correct location:
location (/setup|/upgrade) {
    root $MAGE_ROOT;
}
This sets the root back to the default directory, which sits outside the pub directory. The easiest way to look at it is to view the setup and upgrade sites as separate websites with their own separate structure. This is why the directive block also has the following:
location ~ ^/(setup|update)/index.php {
    fastcgi_pass   unix:/var/run/php7.0-fpm.sock;
    fastcgi_index  index.php;
    fastcgi_param  SCRIPT_FILENAME
     $document_root$fastcgi_script_name;
    include        fastcgi_params;
}
We only allow access to index.php within the setup/update directories, and then deny access to any nonpub file:
location ~ ^/(setup|update)/(?!pub/). {
            deny all;
        }
This will give a 403 error if a malicious user or script attempts to access files outside the pub directory.
It also ensures that all requests come from the same frame, which will prevent clickjacking:
add_header X-Frame-Options SAMEORIGIN;
The static and media sections are both fairly similar in how they operate. Headers are set for caching (explained in more detail in Chapter 7, Reverse Proxy) and the calls are wrapped through a PHP function (static.php or get.php) to allow Magento to perform tasks such as file merging and minification. It can result in a slightly slower first hit, but as it caches the result each subsequent request should be very fast.
See also
Magento sample configuration: https://github.com/magento/magento2/blob/develop/nginx.conf.sample


